Support

How to install driver for RIPAC-10P2

  • Document NO.

    2023102508

  • Category

    SoftwareDriver
  • Rev.

    A1

  • Update Date

    2023-10-26

Model Name

RiPac-10P2

Purpose

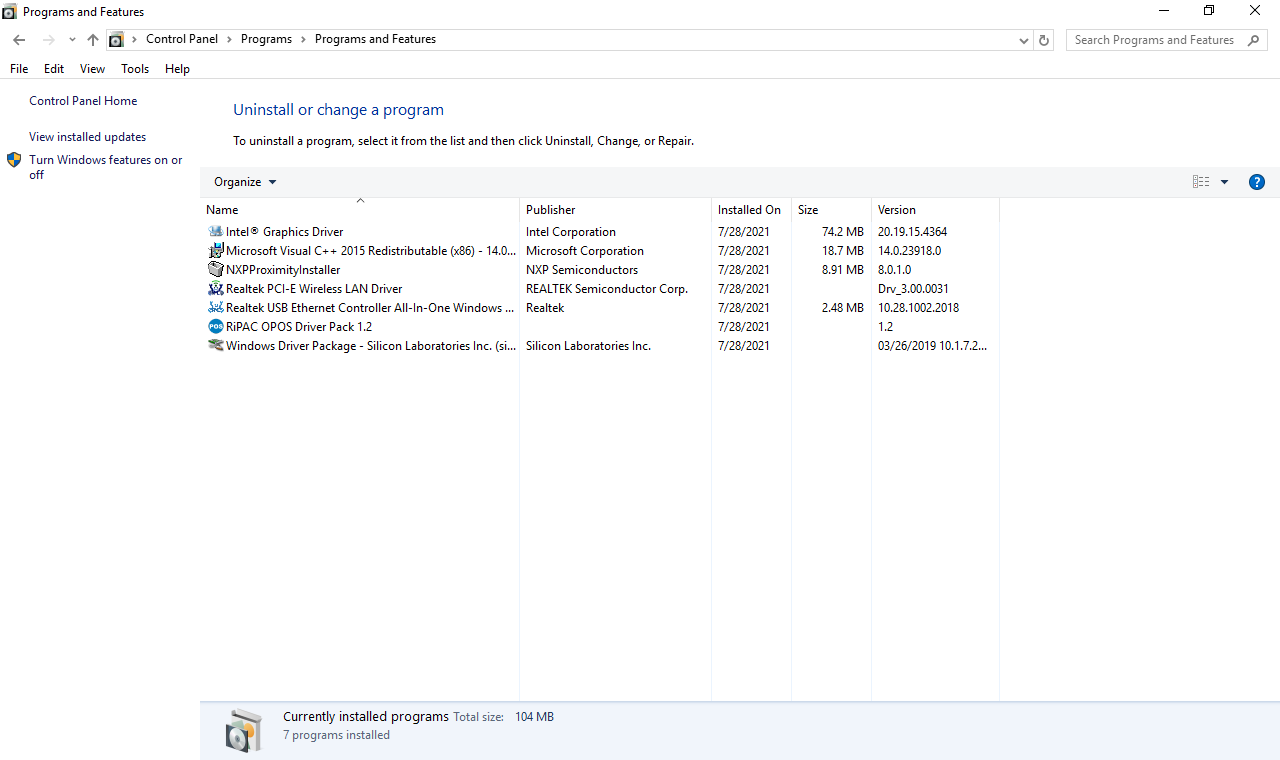
Install all driver on Windows 10 64bit for RIPAC-10P2.

Environment:

Machine: RIPAC-10P2
Operating System: Windows 10 IoT Enterprise 2016 LTSB 64bit English (version 1607, OS Build: 14393.0)

1. Follow the installation sequence as below.

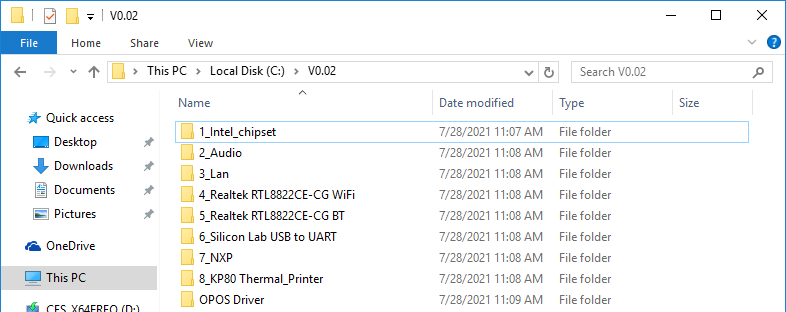
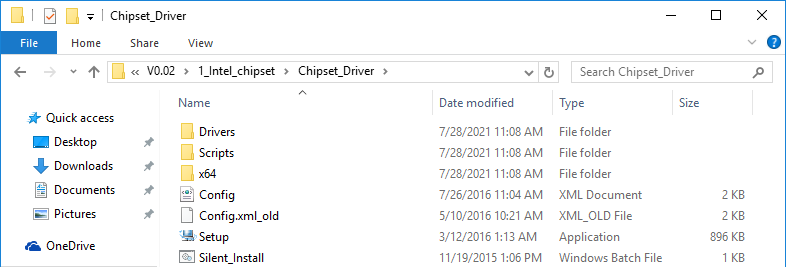
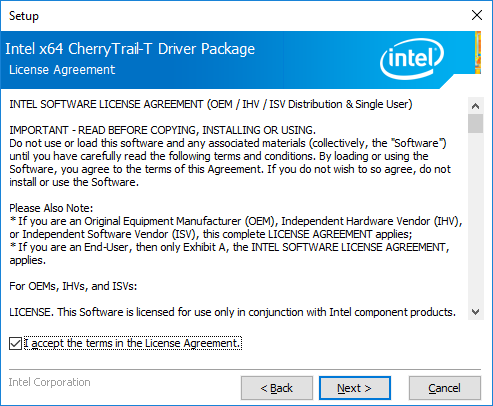
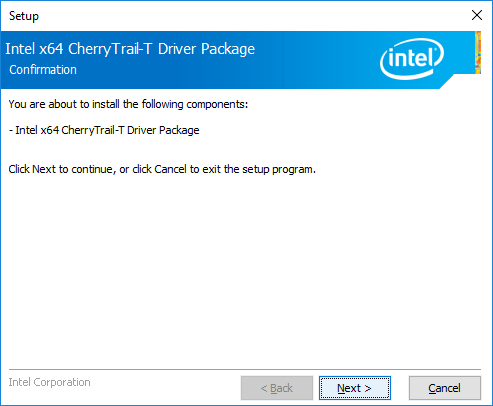
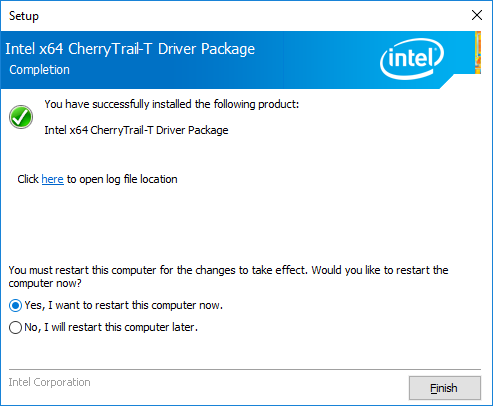
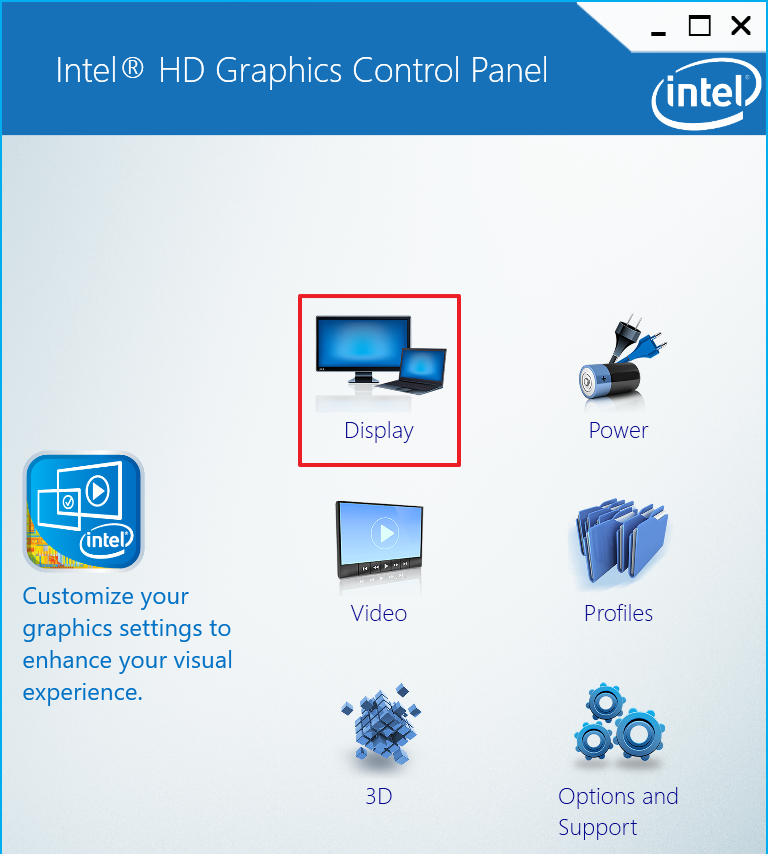
2. Install Chipset driver and Graphic driver first.

  • ● Run Setup.exe (Run as Administrator), and the OS will be required to restart halfway.
  • ● After OS restart, run Setup.exe to continue install.
  • ● After installation finished, restart OS.

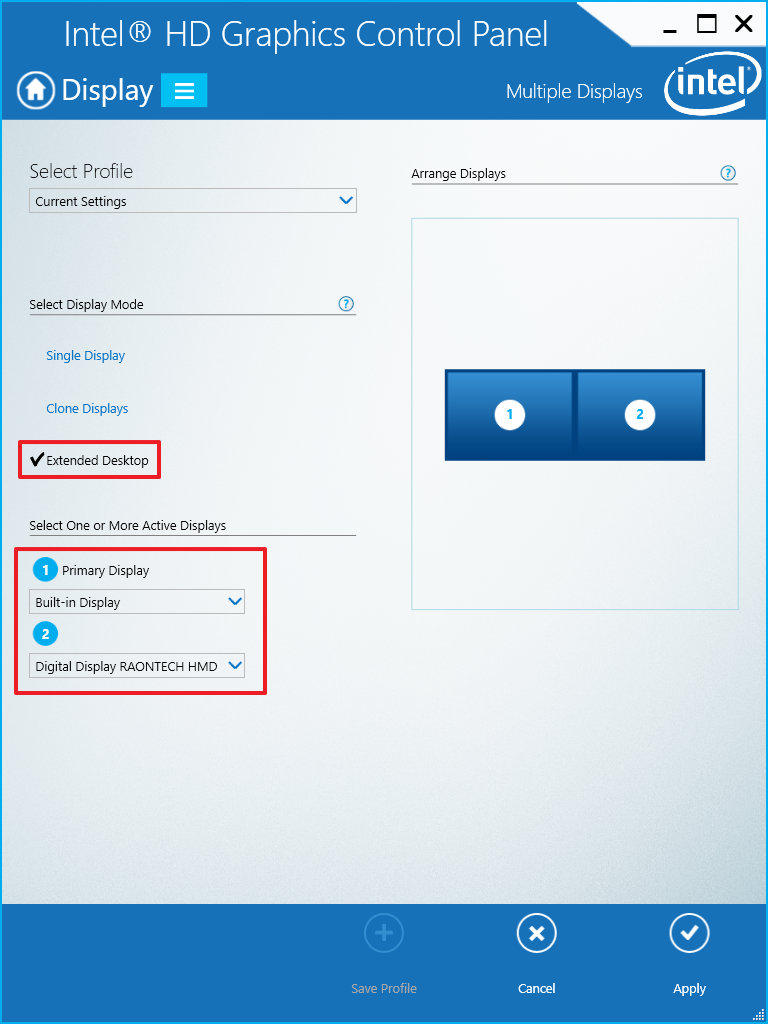
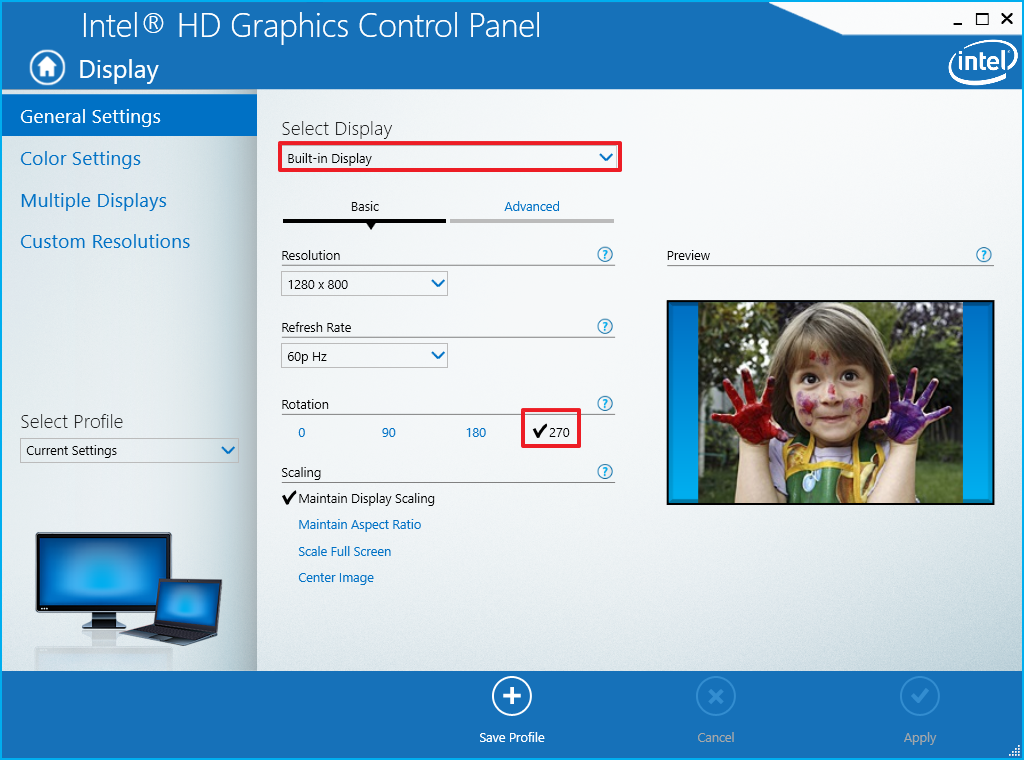
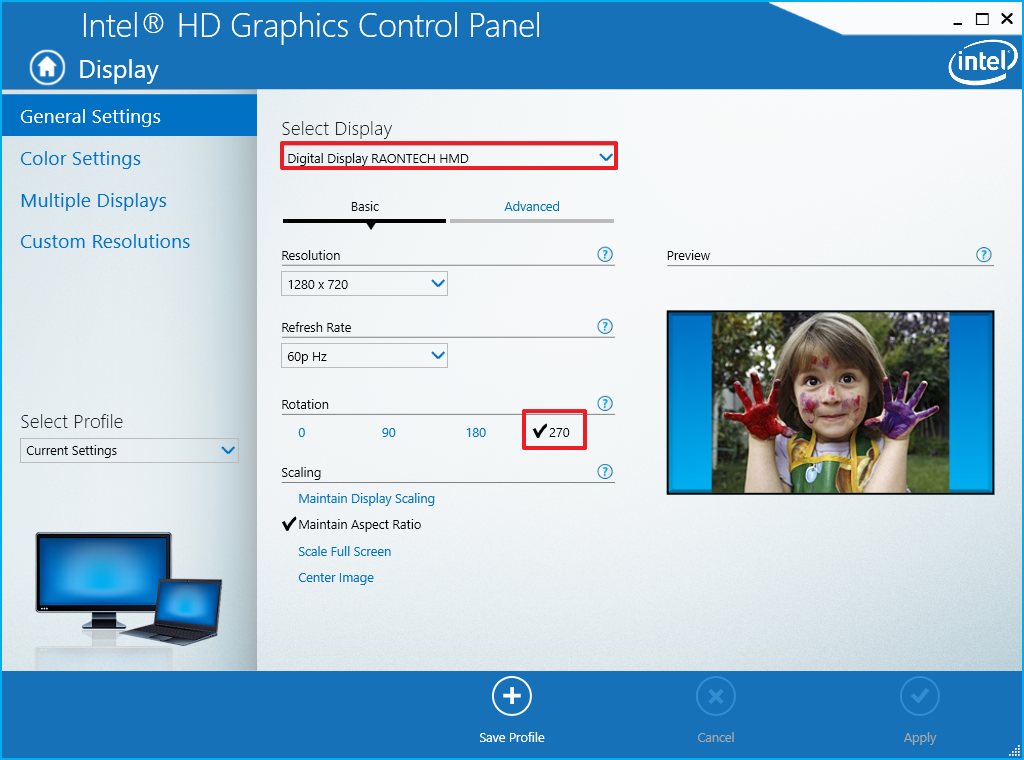
3. Adjust the screen angle for the master panel and slave panel.

  • ● Intel Graphics Properties
  • ● Display > Multiple Displays, Set it as Extended Desktop.
  • ● Select the master panel (Built-in Display) and rotate 270 degrees.
  • ● Select the slave panel (Digital Display RAONTECH HMD) and rotate 270 degrees.

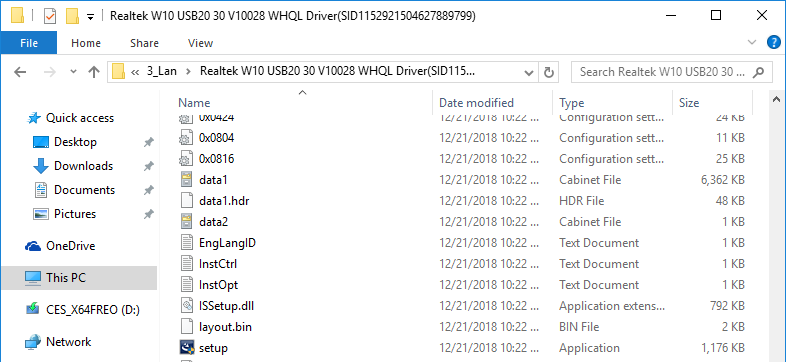
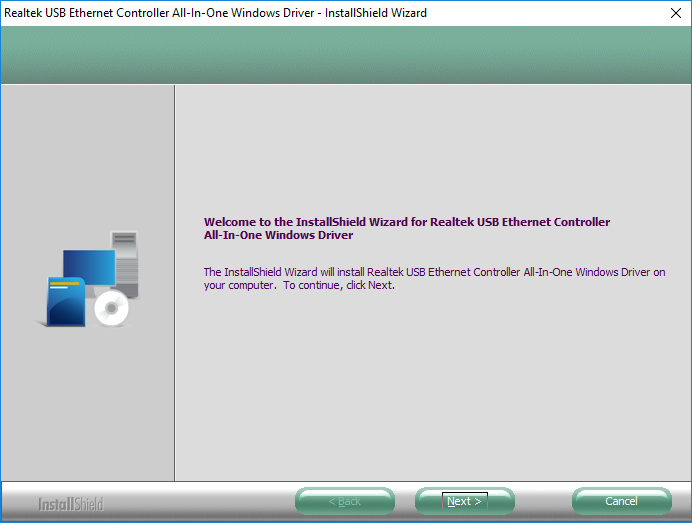
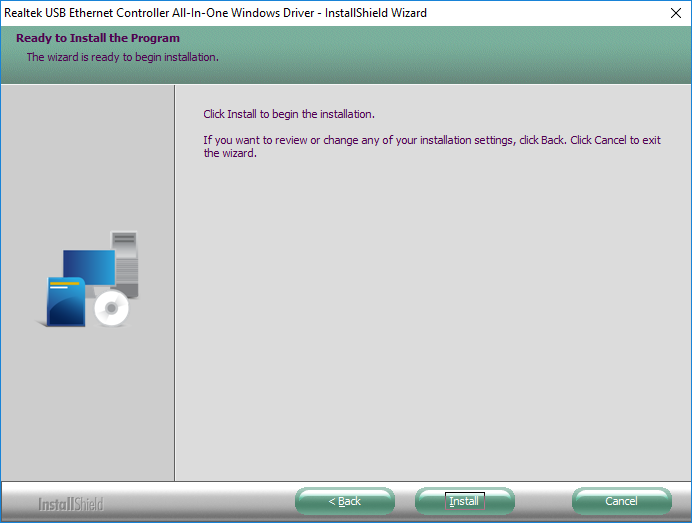
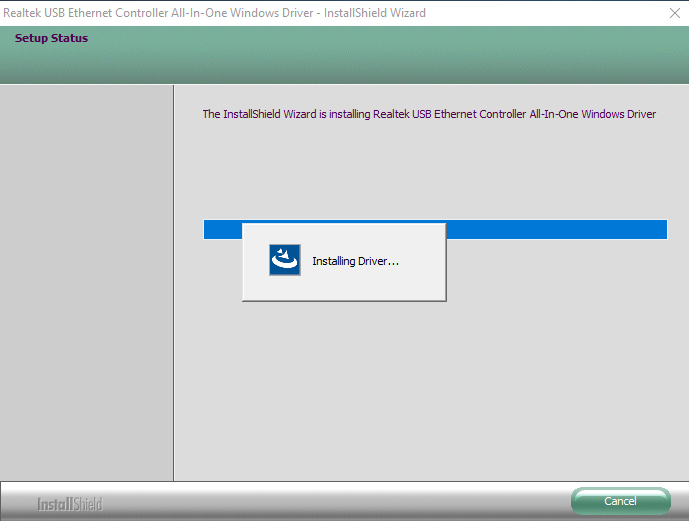
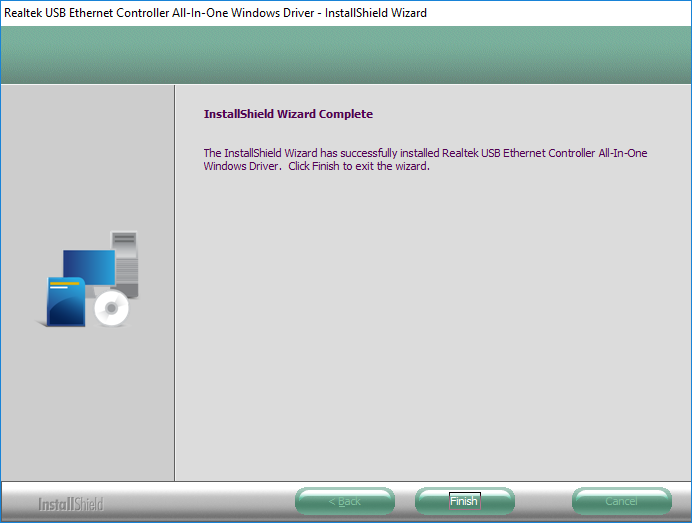
4. Install LAN driver.

  • ● Run setup.exe

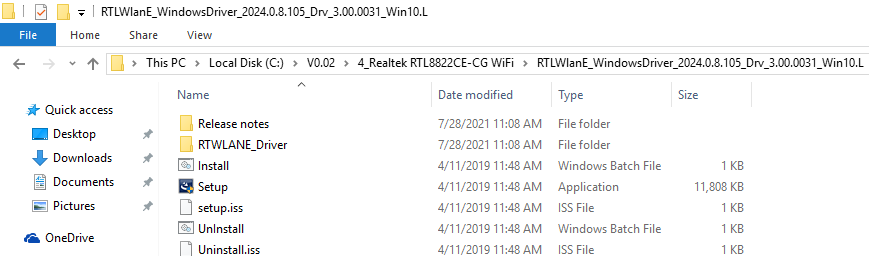
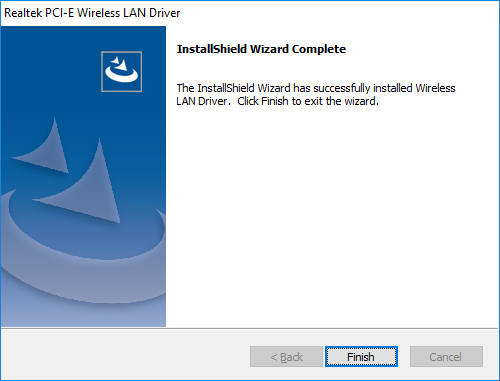
5. Install Wi-Fi module driver.

  • ● Run Setup.exe

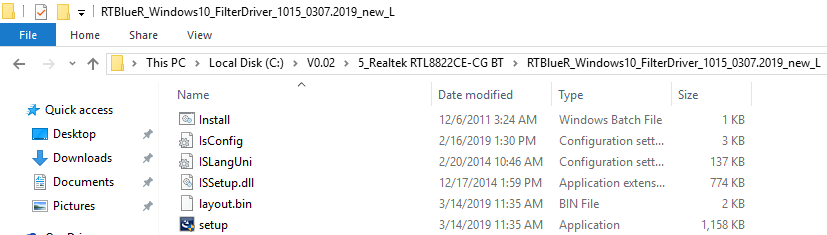
6. Install Bluetooth device driver.

  • ● Run setup.exe, and it will ask enable the Bluetooth device. Press Ok and keep it.

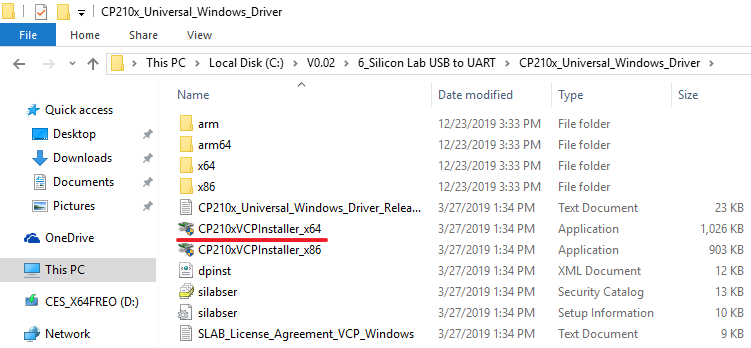
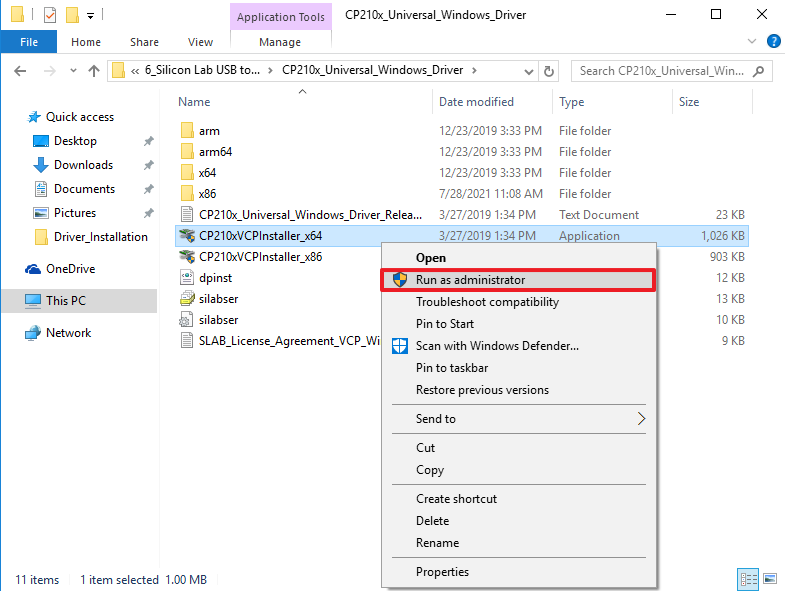
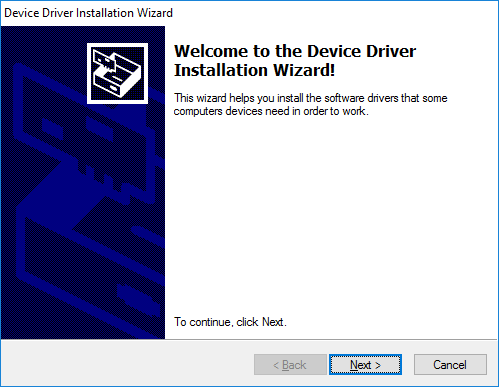
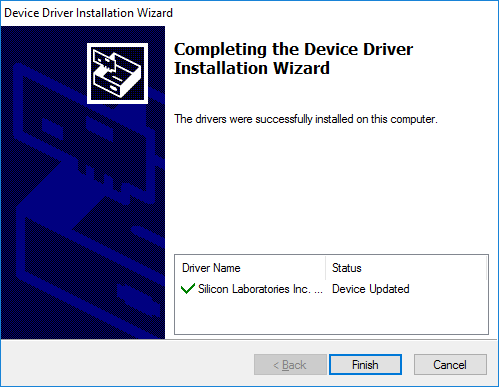
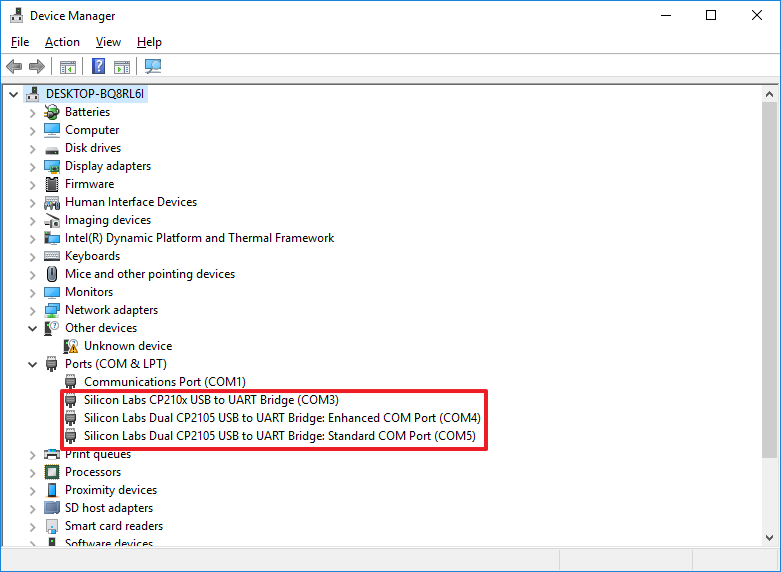
7. Install the USB to COM driver.

  • ● Run CP210xVCPInstaller_x64.exe. (Run as Administrator)
  • ● After installation finished, please restart OS.

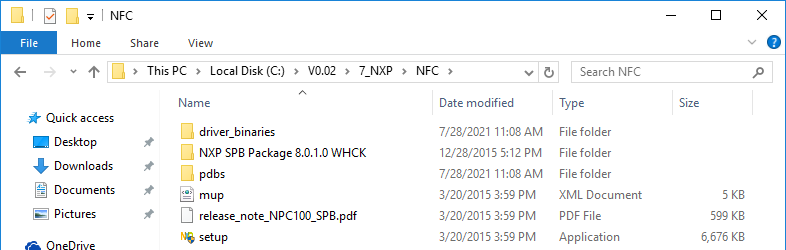
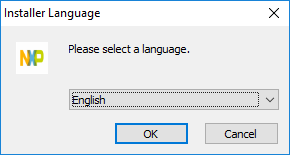
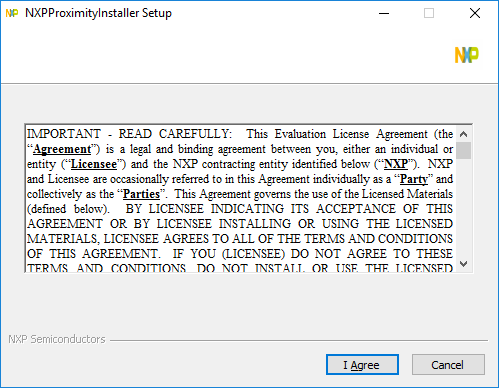
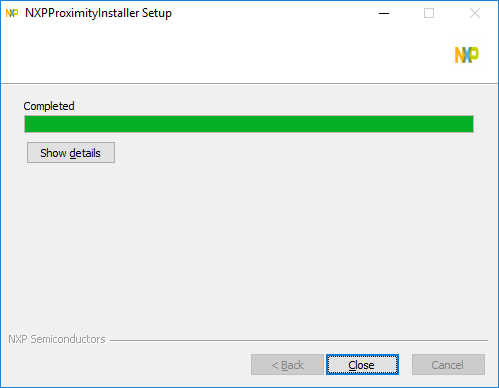
8. Install NFC device driver.

  • ● Run Command Prompt (Run as Administrator)
  • ● Run command: setup.exe /PCSC

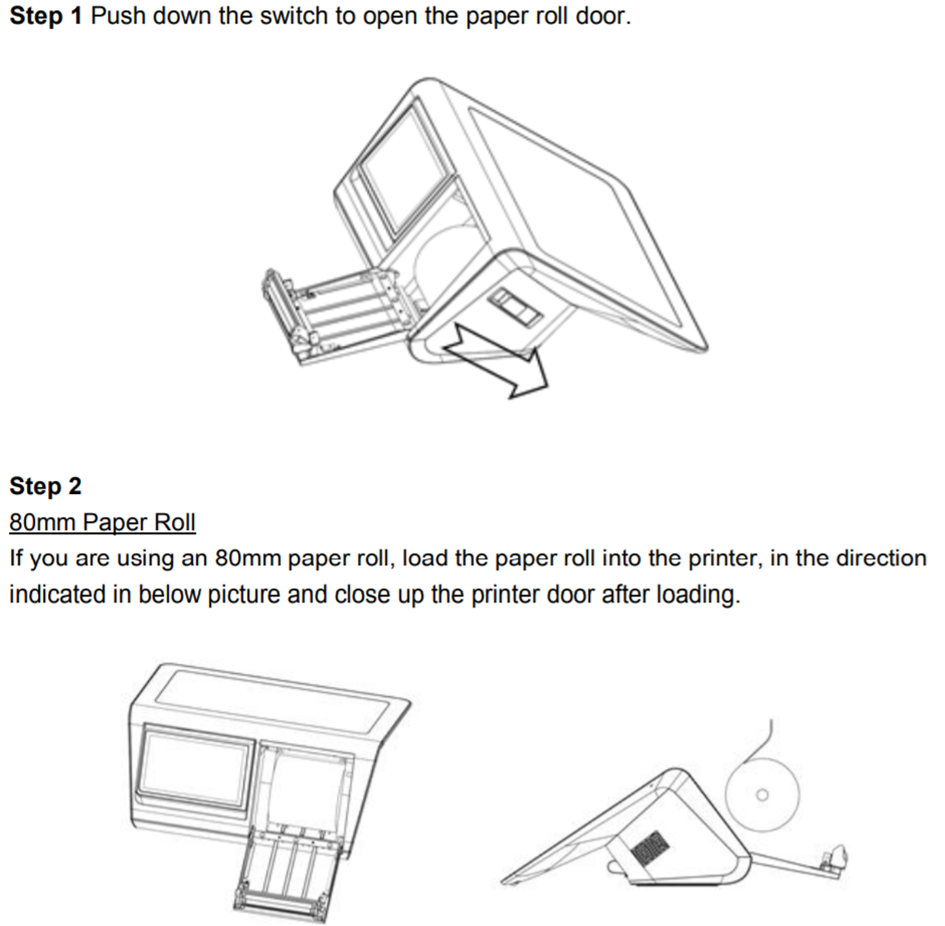
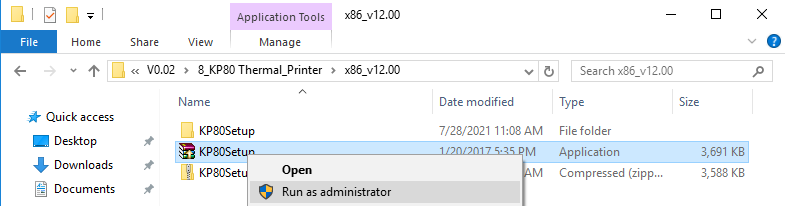
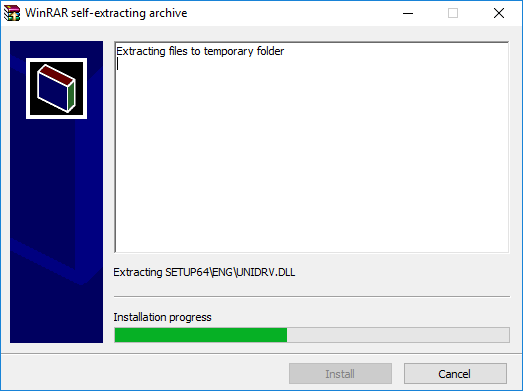
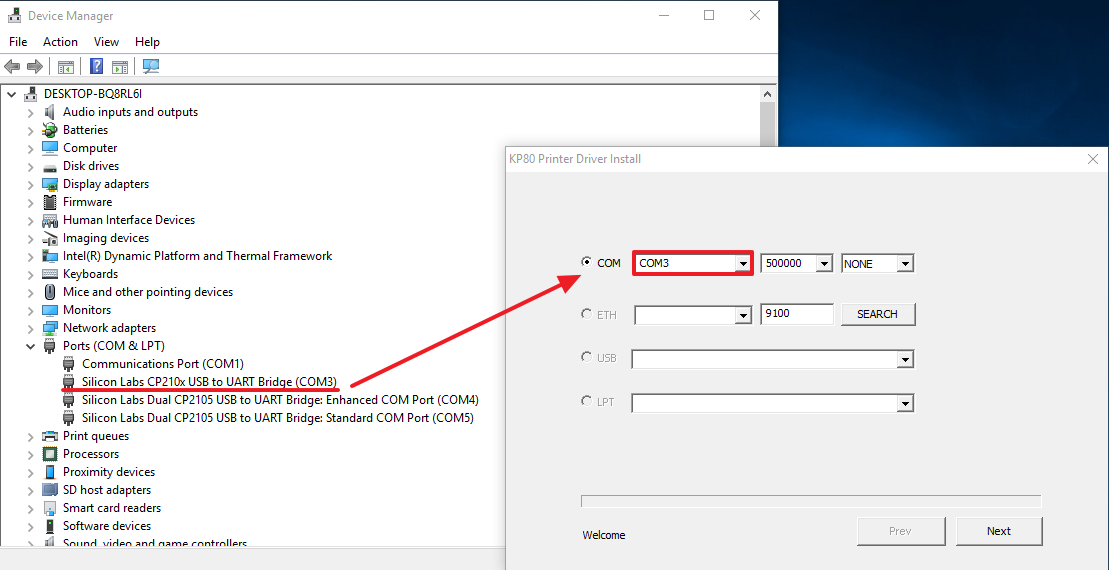
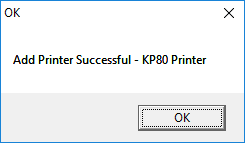
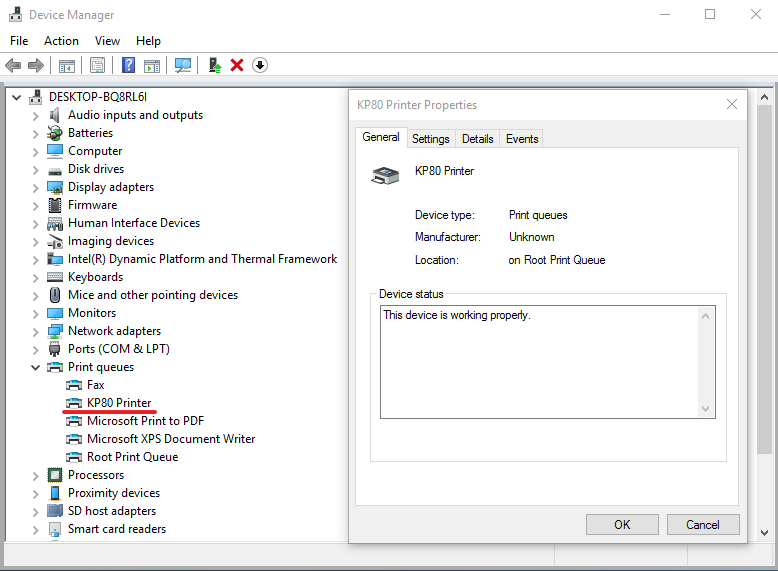
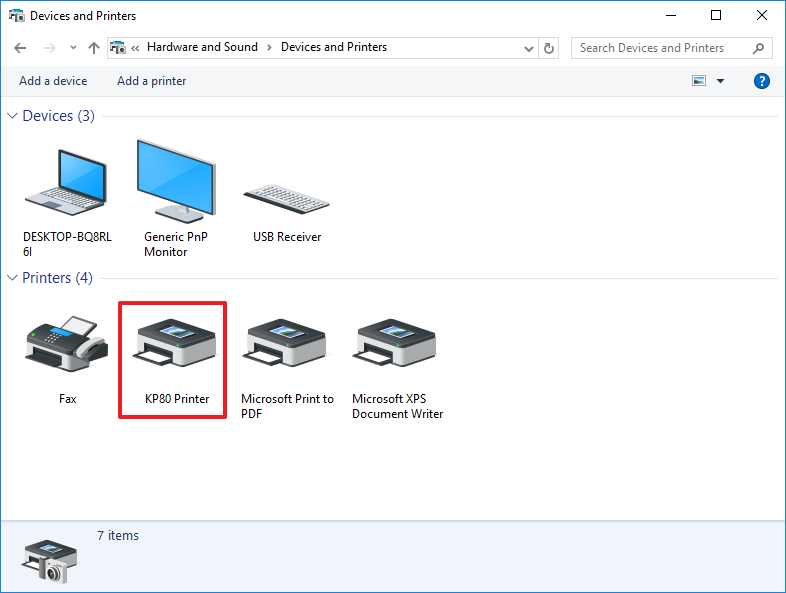
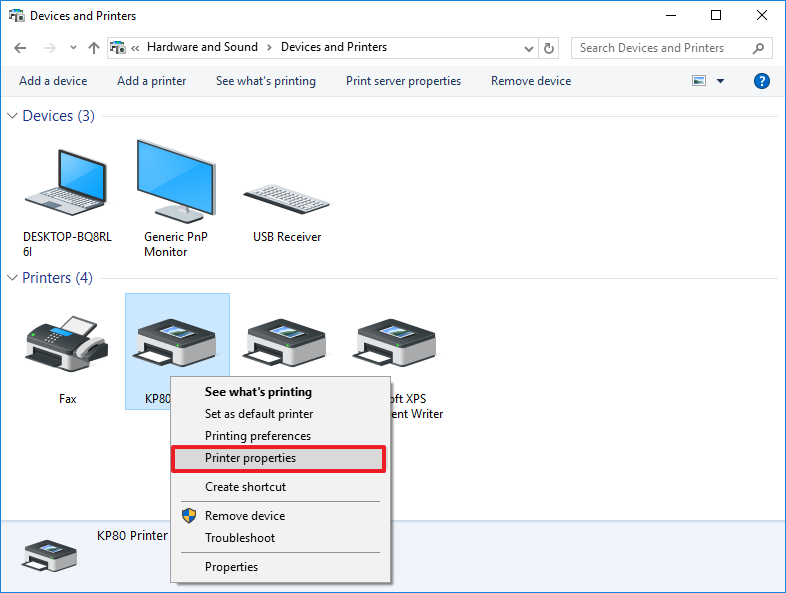
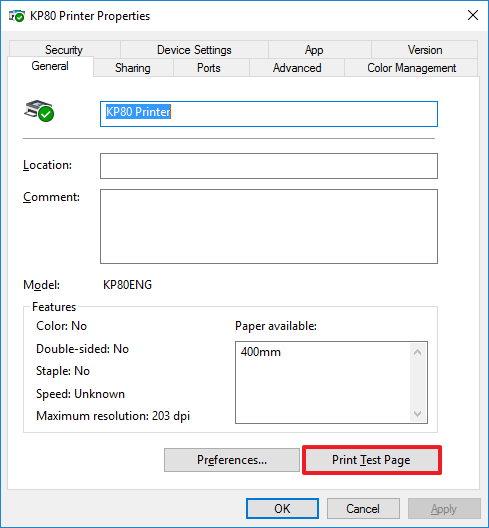
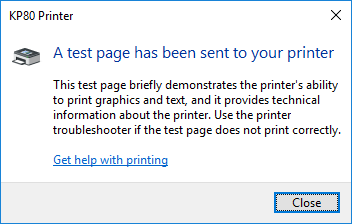
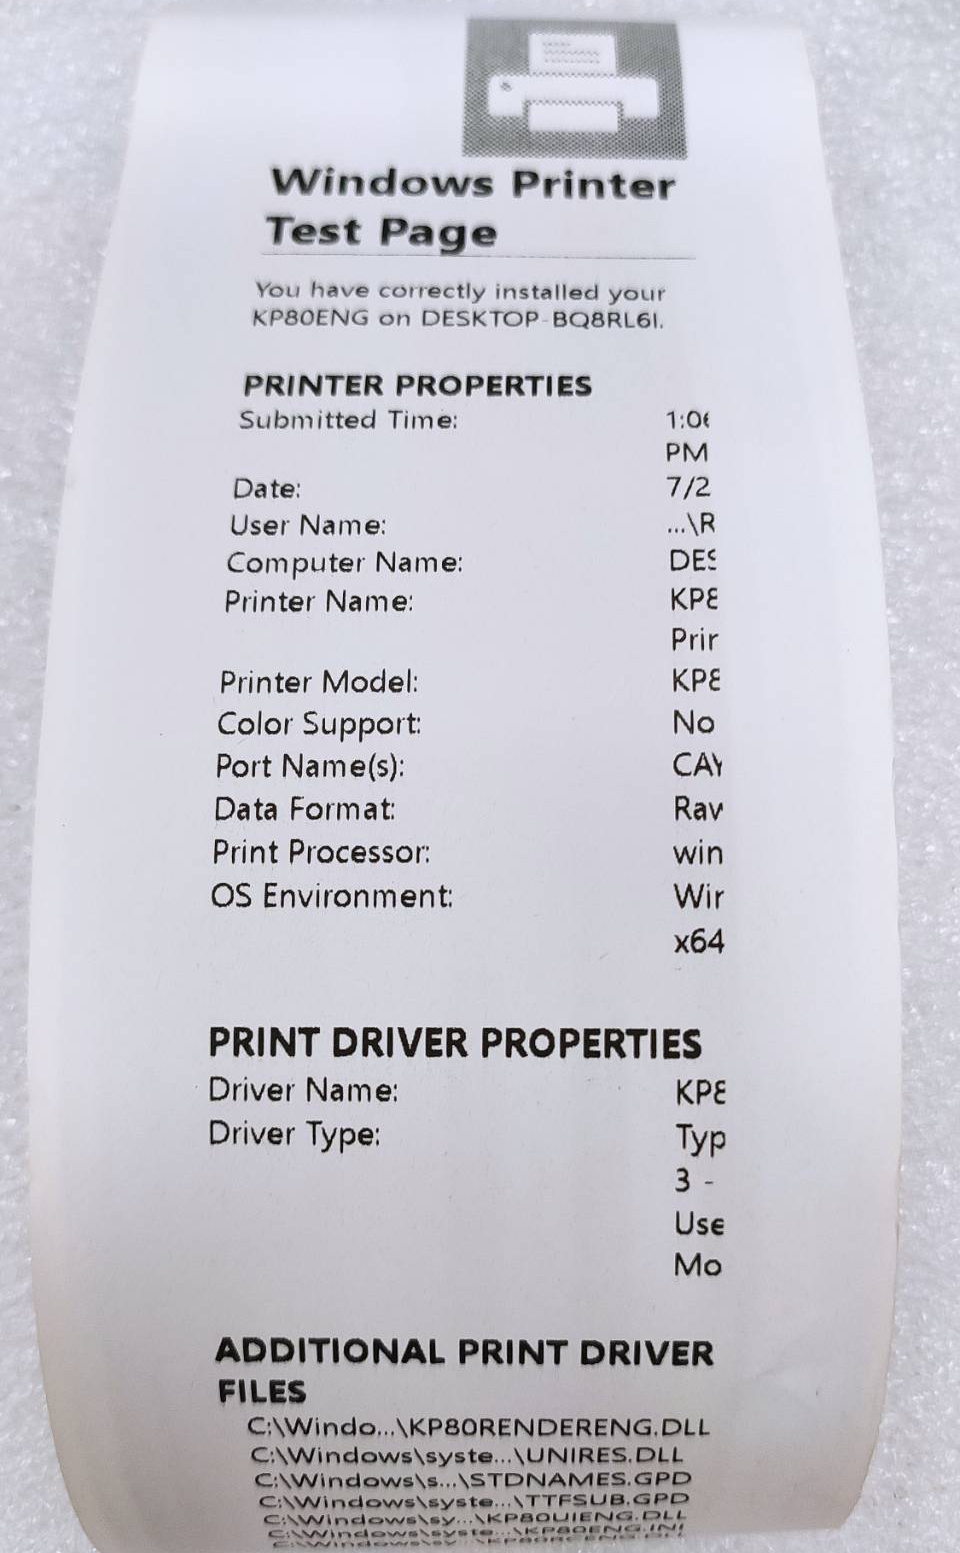
9. Install Printer driver

  • ● Before install printer driver, please install paper roll first (Default: 80mm paper roll)
  • ● Run KP80Setup.exe directly or DriverSetup.exe (Run as Administrator)
  • ● Before you start to install the printer driver, please check the current COM port number of USB to COM (CP210x) on Windows Device Manager.
  • ● Print test page to check the printer is workable.

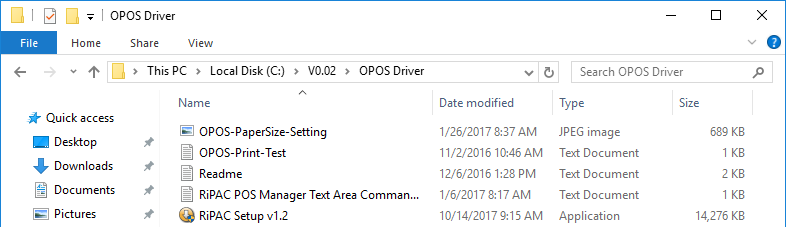
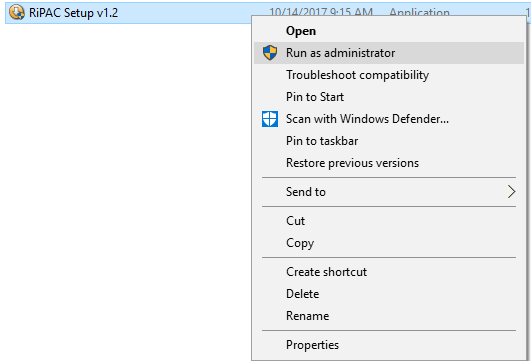
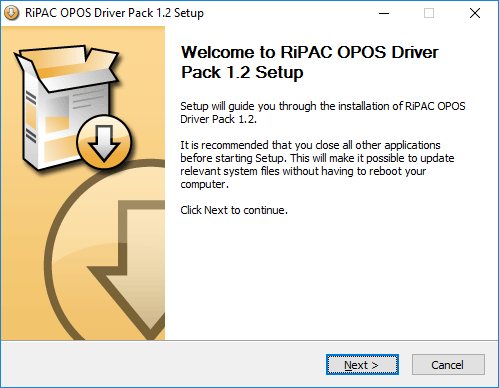
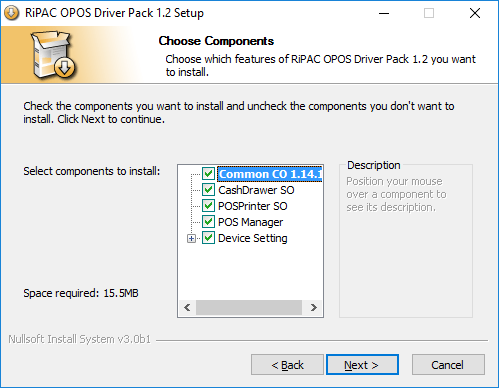
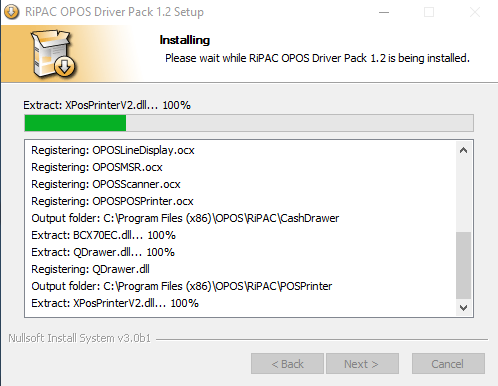
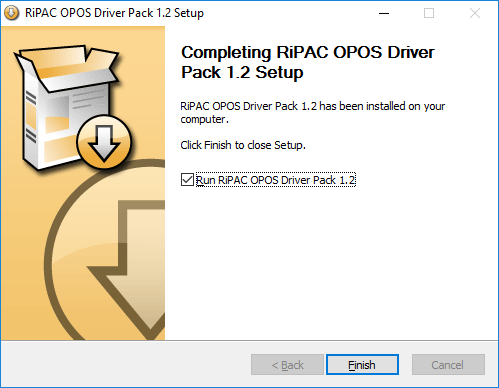
10. Install OPOS driver (It’s option, please decide by yourself whether you want to install)

  • ● Run RiPAC Setup v1.2.exe (Run as Administrator)

11. After installed all driver (with OPOS driver)